In my past life, I did a lot of SketchUp drawing. For obvious reasons, I'm not able to share the drawings I did for my last company. But I'm currently sitting in on a SketchUp for 3d Printing workshop and I wanted to make a little tutorial walkthrough on a few amazing things about SketchUp and Solar.
Why Render for Solar Power?
Well the obvious reason is so that the client can see what their roof is going to look like. The less obvious reason is Google SketchUp can geolocate -- which means that you can quickly render something close to scale that shows shading though out the day.
So let's put some solar on my favorite local coffee shop
SketchUp is a free tool - developed by Google and taken over by Trimble - that harnesses the amazing power of google to render 3D drawings. And the version I am using, SketchUp Make is free.
So first - let's load up SketchUp. The standard template gives you a little guy (it used to be a blond woman about a year ago... curious) and a plain workspace.
So let's delete the man in khakis and look for my favorite coffee shop.
How Amazing is Google?
Ah. There she is. Let's import her and try and build up the building.
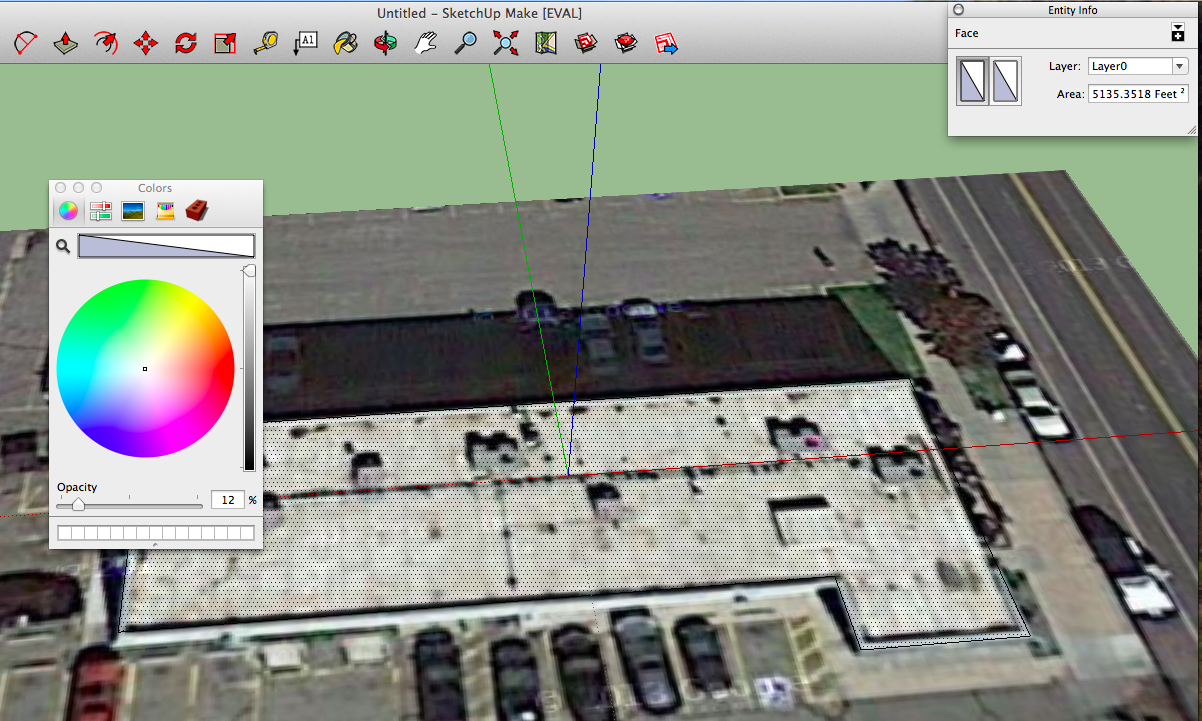
We're going to want to trace the 2d building outline
You can combine the two 'boxes' that make up the building by deleting the separating line
As you can tell, the screen shot noise was getting me some stares at the workspace.
The next logical step is to 'raise' the building - so that you now have a 3D object instead of a 2D one. Resist that temptation though.
If you noticed, the building had a number of HVAC units sitting on the roof. It's unlikely that Rooster and Moon is going to want to remove them for solar -- so we need to add them to our drawing and work around them for solar placement.
So before we go 3D, let's make the background transparent and draw those units in. (don't just delete the background - you'll need it soon)
Before we trace out the hvac units - let's make sure we're on a top down view. 3D rendering can really mess with your brain.
We're going to trace out the boxes. In a real construction situation, we'd want to get actual measurements from someone in the field. Often google images are outdated, so some of the units may have moved or been removed. But for general planning purposes, we can guess-timate.
Now that we have our layout - I'm going to 'pull' up the building. I'm going to estimate that the building is, say, 17' tall and that the units are 3'.
In the real world, the actual height of the units is very important. The height of the building is less important, unless you are working with a sloped roof.
With any tool in SketchUp, you can enter a measurement during or immediately after you've made an action. So when I start the 'pull' up the building, I'll pull it up a little bit and then type in 17', and SketchUp takes care of the rest.
Oops. I entered 15' instead of 17'
No problem - I can pull the building up another 2'
So why does it matter how tall I make the HVAC units?
Because SketchUp can render shading. And shading is the enemy of solar.
Basically, if your panels are shaded during prime solar hours, you will have massive losses of productivity. This is important information for qualifying for solar grants -- but also generally the difference between profiting on your green installation or losing major money.
There are ways to work with shading... such as using microinverters, which are individual inverters per solar panel. But microinverters are generally more expensive and almost constantly require repair. There are also hours of the day and times of the year where the solar gain is minimal, and you really don't care if you get shade at 4pm in December.
Making those calls and calculations is why you hire a solar professional.
But for the purposes of this demo, I can show you how to see the general shading that you're looking at.
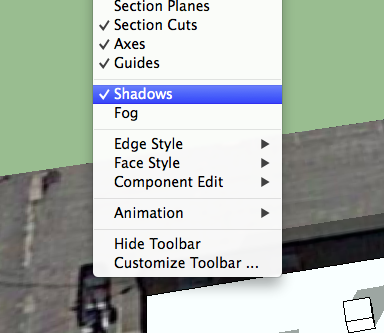
First - turn shadow rendering on - and then you can go ahead and toggle the Shadow Settings to see different times of day and different days of the year


